Pidgin uses Mercurial for development and requires code submissions
— even fairly trivial patches — to be submitted as Mercurial pull
requests rather than accepting patches in email or attached to Trac
tickets. This document attempts to walk git users through the
process of submitting a pull request.
Initial setup
- Create a Bitbucket account.
First, you will need to be able to publish a Mercurial
repository. It's not clear if the Pidgin developers will accept pull
requests from anywhere other than Bitbucket, even if you have a
suitable service elsewhere. So start at
the Bitbucket
sign-up page and create an account.
- Install git-cinnabar
There are a number of
forks and reimplementations of git-remote-hg in
existence; the best one to use seems to
be git-cinnabar. Install
it and make sure it is the first git-remote-hg on
your $PATH. Others might work but these instructions are based
on git-cinnabar.
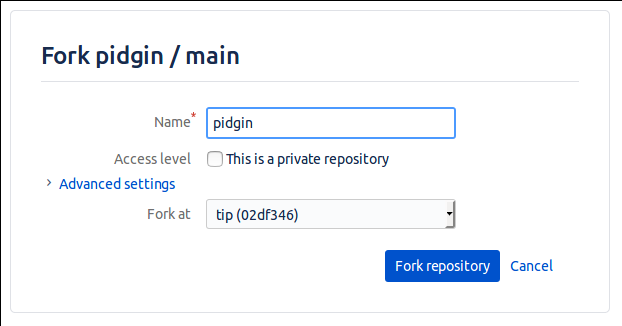
- Create your clone of the Pidgin repository
Starting at https://bitbucket.org/pidgin/main/, click the '+' sign under the looking-glass in the blue panel at the left-hand side. Choose the 'Fork this repository' option. It's OK to fork at "tip" whichever branch you're going to contribute to. Call it what you like; I called mine "pidgin".
- Clone the Pidgin repository locally, add your repo as a remote
      $ git clone hg::https://bitbucket.org/pidgin/main pidgin
      $ cd pidgin
      $ git config fetch.prune true
      $ git remote add dwmw2 hg::https://bitbucket.org/dwmw2/pidgin
      $ git fetch dwmw2
Making a contribution
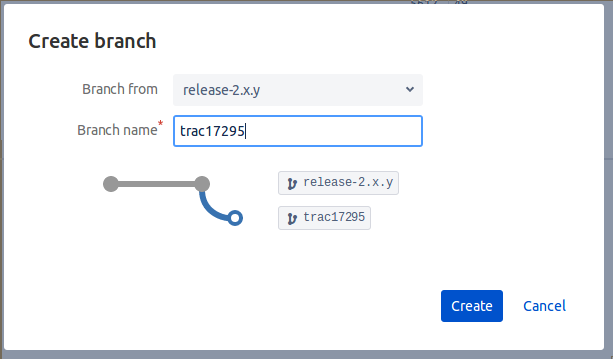
- Create a branch
In a web browser, select "Branches" from the left-hand menu of your repository. At the top right-hand corner of the page there is a 'Create branch' option. Select either "default" or "release-2.x.y" as the point to branch from, and give your branch a meaningful name. Perhaps name it after the ticket you've filed and are fixing.
- Fetch the new branch from your repository
Mercurial makes an empty commit at the start of a branch, which you need to import.
      $ git fetch dwmw2
      $ git checkout -b branches/trac17292/tip --track dwmw2/branches/trac17292/tip
- Build, edit, test, commit, swear, fix, test, commit
- Push back to your branch
$ git push
- Create a pull request
When you push changes to your branch, you should see a URL which you can use to create a pull request. It should be something like
https://bitbucket.org/dwmw2/pidgin/pull-requests/new?source=dwmw2/pidgin::trac17295&dest=pidgin/main::release-2.x.y. Check the source and destination are correct (I've actually cheated in this URL and set the destination to pidgin/main::release-2.x.y; you'll probably need to fix that yourself.). Check the commits are right and fill in the title and description, and click 'Create pull request'.
Modifying a pull request
When you receive feedback on your proposed commits, you might want to change them. Adding new commits on top is relatively simple; you can just push again. But doing a force-push to modify what you've already pushed, is slightly more complex with Mercurial.
- Force-push your changes
After modifying your commits and fixing things up, force-push as you normally would to your branch:
$ git push -f
However, this hasn't really overwritten your previous commits. If you look in the web interface at your branch, you'll see it has multiple "heads":
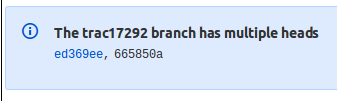
- Remove the previous 'head'
Carefully note which of the heads in your branch is the new one, and which is the old one.
Under 'Settings' in your repository, there is a scary menu item for "Strip commits". Enter the Mercurial (not git!) commit ID of the first commit which is unique to your old tip, and strip those commits. Now your branch will have only one 'head' and your pull request should have updated to include the new commits you just pushed. Add a commit in your PR to note what you changed.
Last modified: Fri Mar 23 10:22:00 GMT 2018